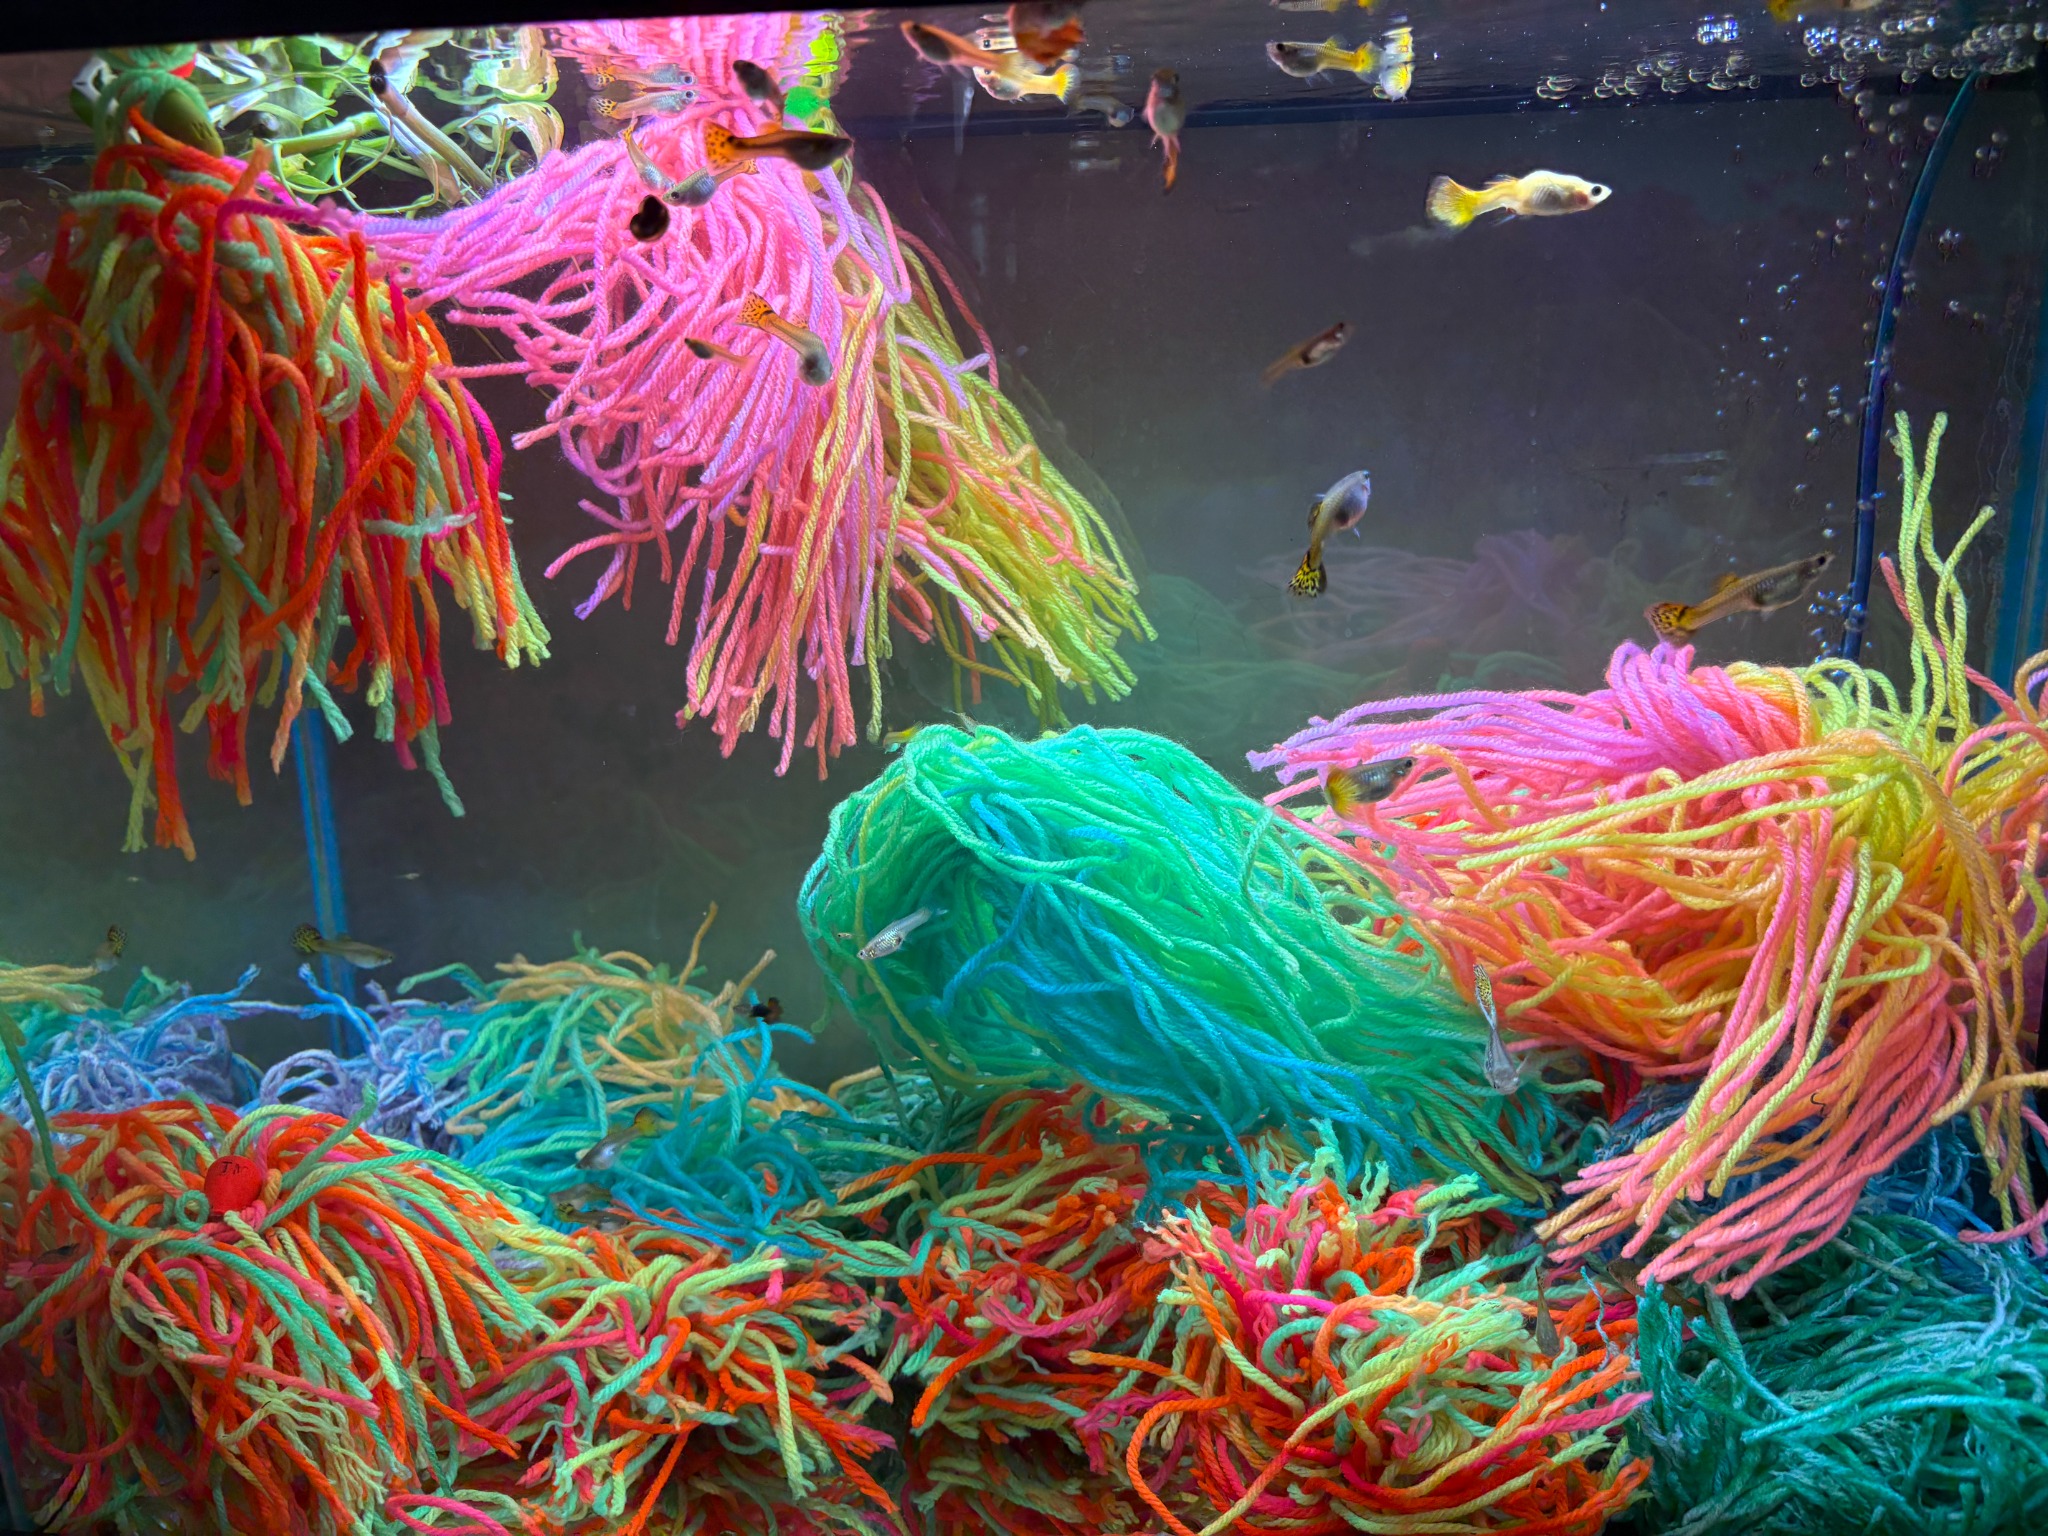
How to Set Up Your Aquarium for Egg Collection
Spawn, move the mop, rotate in a spare. For fish that deposit eggs among fine strands, a spawning mop gives you a removable egg-laying surface. Prepare the hatching setup before collecting eggs.
1. Plan a Setup for Your Species
Before adding the mop, check:
- Where your fish normally deposit eggs: near the surface, among plants, or lower in the tank
- Whether you are collecting eggs in a dedicated breeding tank or an established aquarium
- That a prepared hatching tank or suitable incubation container is ready
A simple breeding setup can make eggs easier to find. You do not have to strip plants or shelter from an established tank; keep the layout appropriate for your fish.
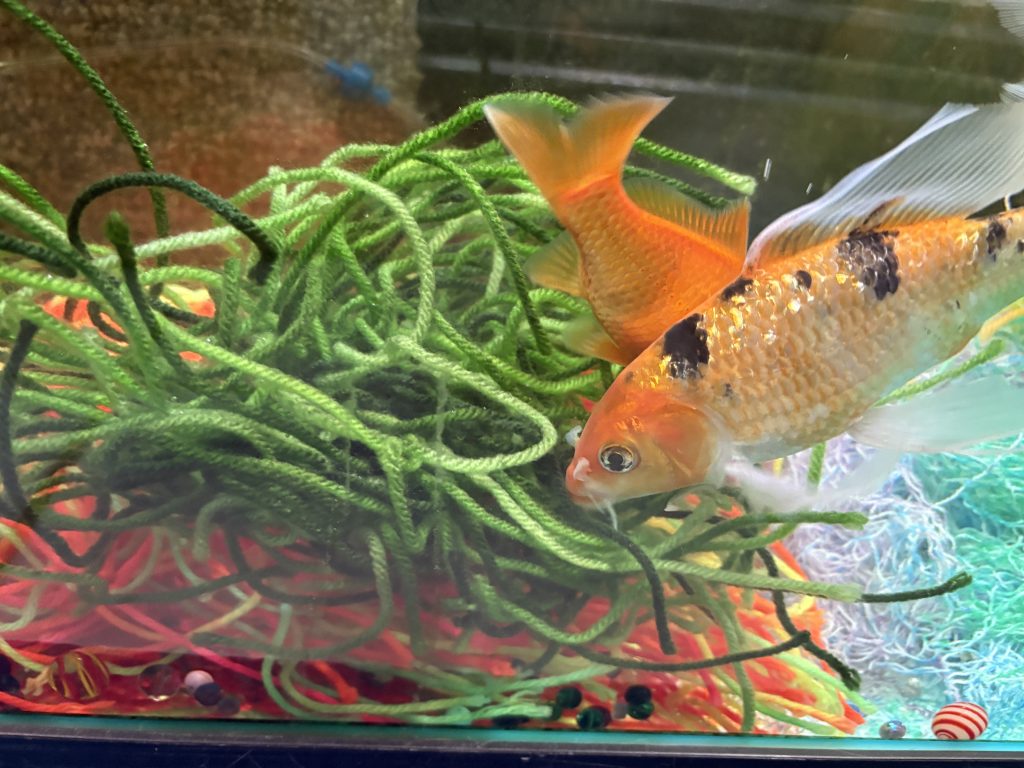
2. Choose the Correct Mop Type
- Floating spawning mops
Used for fish that spawn near the surface or mid-water, especially species that naturally use floating plant roots. - Sinking spawning mops
Used for fish that spawn lower in the water column or near the bottom.
Match mop depth and length to the species and tank. Floating mops offer surface cover and hanging strands; non-floating mops let you position the strands lower down.
3. Position the Mop Intentionally
Place the mop at the depth your fish use for spawning, where you can check and remove it easily.
- Keep it out of strong current
- Avoid direct filter output
- Ensure strands are loose and accessible
Leave room for water circulation and keep strands clear of filter intakes. Suitable egg layers deposit eggs among the strands; a mop does not collect every egg in the tank.
4. Condition Fish Before Spawning
Egg production increases when breeders are well conditioned.
- Feed high-quality foods consistently
- Maintain stable temperature and lighting
- Introduce the mops before spawning. Keep at least one spare ready to replace an egg-bearing mop moved to the hatching tank.
Give breeders time to explore the mop. Spawning depends on species, maturity and aquarium conditions.
5. Collect Eggs and Rotate Mops
Check regularly, often daily during active spawning, and follow your species’ incubation needs. The simplest collection method is to move the whole egg-bearing mop.
- Gently remove the mop
- Inspect strands for eggs
- Move the whole egg-bearing mop into the prepared hatching/fry tank, away from the breeders
- Keep the egg-bearing mop undisturbed during incubation; do not rinse or scrub it as routine cleaning
- Place a spare, pre-rinsed mop with the breeders so they have somewhere to spawn while the first batch develops
Experienced breeders may instead pick individual adhesive eggs into a suitable incubation container. This depends on the species and how delicate its eggs are. Whole-mop transfer avoids handling each egg; follow appropriate incubation and first-food care.
Common Setup Mistakes
- Moving eggs before the hatching setup is ready
- Using excessive water flow near the mop
- Using one incubation method for every species
- Cleaning a mop while eggs or animals remain in its strands
Spawning mops are most effective when used deliberately and consistently.
Key Takeaway
Egg collection and fry cover are different uses. Egg layers deposit eggs on the mop so you can move it. Guppies, endlers, platies and mollies give birth to live fry: group several mops into dense cover and leave that shelter in their tank.
For a colony setup, provide several sheltered areas while leaving swimming space and circulation. Fry can retreat among the strands, although adults may still eat some. See our livebearer fry-cover guide.
Build a useful set: keep spare mops for egg-collection rotations, or group several for fry cover. Soft, durable, washable and reusable, they are easy to clean once free of eggs and animals. Shop AquaNest mops · Easy cleaning guide.
Independent breeder demonstrations: Bay Area Aquatics: whole-mop transfer and egg picking and JT Keeping Fish: egg collection and livebearer cover. These educational videos are not AquaNest endorsements.